 The Runtime Feeds Preferences are used to display and change the currently installed Runtime as well as the runtime in current use.
The Runtime Feeds Preferences are used to display and change the currently installed Runtime as well as the runtime in current use.
GameMaker can have several different runtime versions installed at any one time and you can set which one to use from this preference.
Ideally you want to be using the most up-to-date runtime, but sometimes it may have an issue, or you may be required to use an older one for compatibility, etc. and so you can change the runtime tools that GameMaker uses to build your game here.
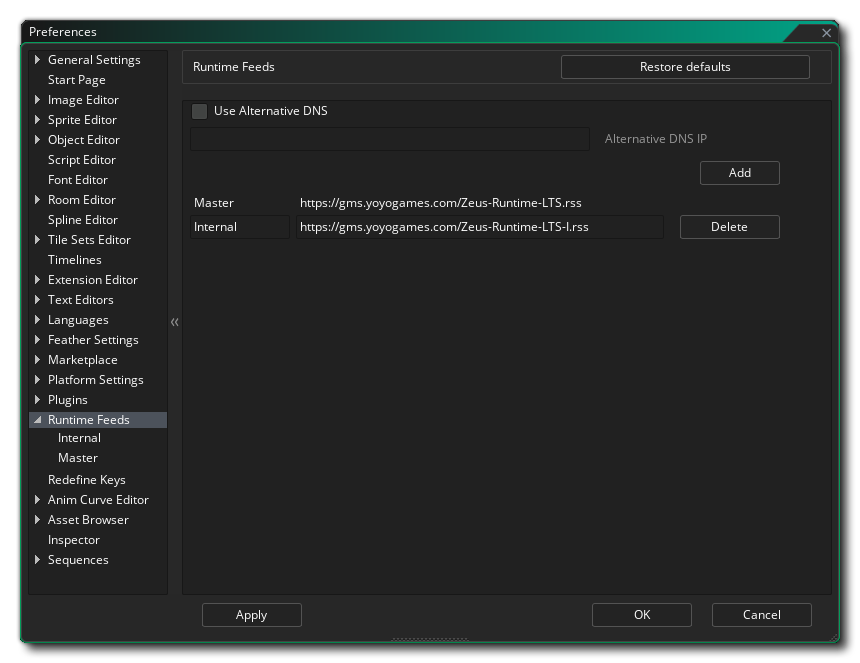
The initial section of this preference is related to where you pull the runtime tools from and requires you to input a URL to an RSS feed. This feed will then be scanned for updates to the runtime tools which can then be downloaded and installed. This section will show the Master runtime feed URL by default, but you can click the Add button to create a new Runtime Feed where you give the name and the URL for the RSS feed, and then click Apply to tell GameMaker to access it. You will need to close and re-open the Preferences window for the new feed to be shown.
GameMaker allows you to use an alternative DNS server if you want to or in case you experience delays with getting the updated RSS feeds.
To use this, check the "Use Alternative DNS" checkbox and enter the IP address of the alternative DNS server to use:

NOTE If you leave the text field empty GameMaker will continue to use your system DNS settings.
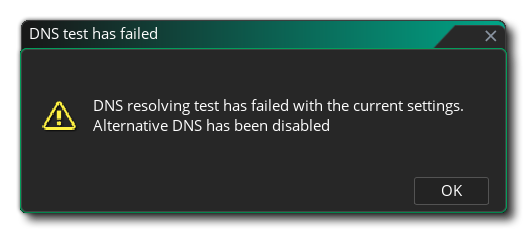
Click "Apply" to save the changes. GameMaker will test to see if it can get a valid DNS result from the given IP address. If not an error message will be shown:
A couple of alternative IP adresses that you can use are 1.1.1.1 and 9.9.9.9.
Once a Runtime Feed has been created it will be listed in this section as a sub-category, and you should always have at least one feed listed (by default this would be the Master feed). Regardless of the runtime being used, they will all have the same features, outlined below using the Master feed as an example:
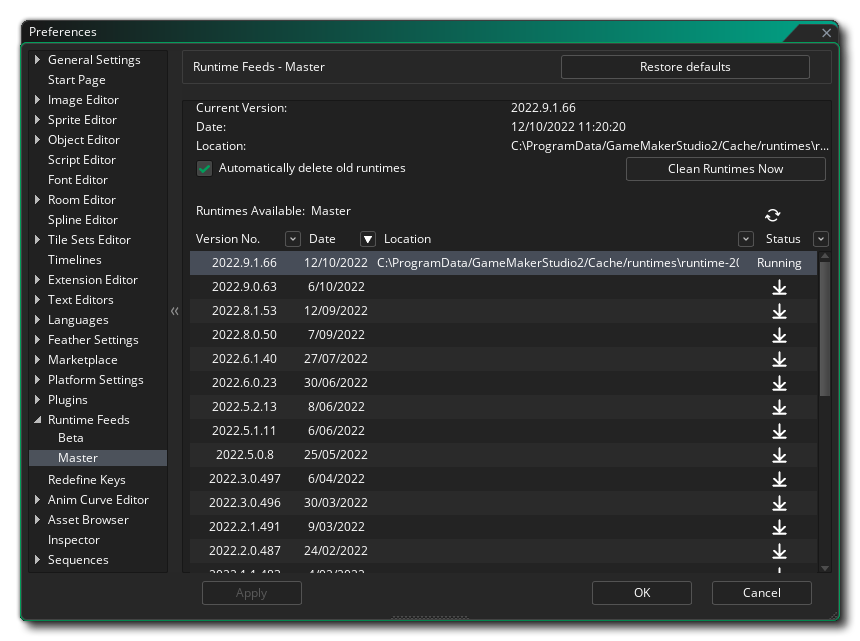 The Runtime Feeds Preferences are used to select, install and uninstall the different runtime tools. At the top you have the current runtime tools being used, the date it was created, and the location that it is stored in on the hard drive. Beneath these details you can find a list of all the available runtimes, and you can choose any one from this list to change to being the "running" runtime used for compiling your projects.
To select a different runtime to use, simply find it in the list and then double click ![]() on it. If the runtime has not been downloaded and installed, then you will be prompted to do so, and once it has been installed you will be asked to close and restart the IDE so that the new runtime can be initialised.
on it. If the runtime has not been downloaded and installed, then you will be prompted to do so, and once it has been installed you will be asked to close and restart the IDE so that the new runtime can be initialised.
This list details all the available runtimes, their version number, the date they were released, and - if they are installed - the path to where they have been installed to. The right hand side also shows the different status icons which are as follows:
| This marks the current runtime that has been selected for use when building your projects. | |
| Clicking this will initiate the download and installation of the selected runtime (a status bar will be shown in the top right of the IDE). | |
| Clicking this will remove the selected runtime from your hard drive. |
You can update the runtime list at any time from the given RSS feed clicking the refresh button ![]() , and you can clean your hard drive of old runtimes by clicking the "Clean Runtimes Now" button.
, and you can clean your hard drive of old runtimes by clicking the "Clean Runtimes Now" button.